
Updated September 13, 2023
Renovating your home can be an exciting time for any homeowner, but it can also be stressful.
First you have to prepare your home for renovation, then the real work begins. But once the renovations are complete, the work isn't over.
It's important to properly clean up after a home renovation for the safety of everyone living in the home. It's an equally critical part of the renovation process that should not be taken lightly.
Create a cleanup plan ahead of time so that once the renovations are complete, you can jump into action and enjoy your new home with the minimal amount of disruptions as possible.
We'll go over the most important cleanup steps to take after your home renovations are finished.
Jump to:
Find C&D debris removal near you
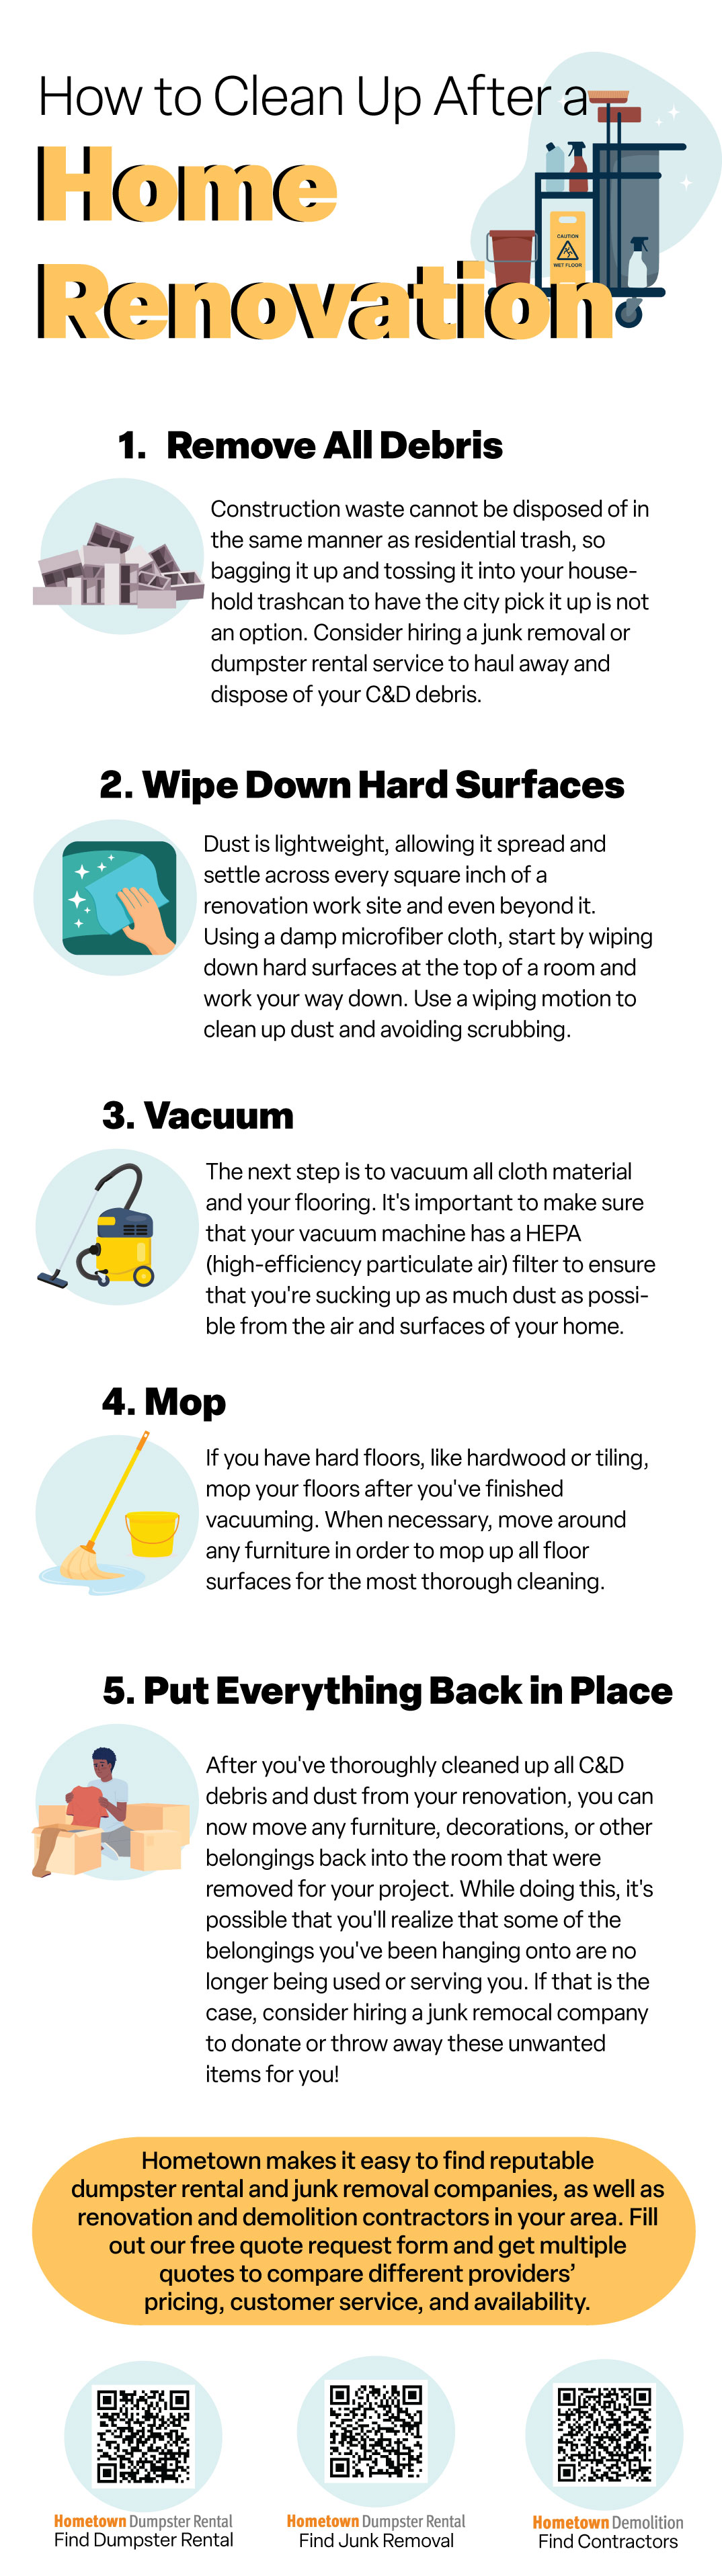
Remove All Debris
If you've hired a professional contractor to handle your home renovations for you, it's most likely that they are also in charge of handling the removal and disposal of any construction and demolition (C&D) debris that is produced throughout the project. But maybe you struck a deal by offering to handle the debris cleanup yourself, or maybe you're an experienced DIYer who has tackled the renovation all on your own.
No matter your circumstance, the very first step to properly cleaning up after a home renovation is to properly dispose of all the C&D debris. Construction waste cannot be disposed of in the same manner as residential trash, so bagging it up and tossing it into your household trash can to have the city pick it up is not an option. At least not one that doesn't run the risk of fines or penalties.
C&D debris contains contaminants that need to be properly disposed of (typically recycled) at appropriate facilities that accept this type of waste.
Some people may opt to bag up their C&D debris, load it into their vehicle, and then haul it to whatever facility is closest to them that will accept this material for disposal. The problem with this method is the amount of mess you'll likely trail into your vehicle, the time it takes to not only do all this, but to research facilities in the area who are equipped to dispose of C&D debris, the time it takes to wait in line at said facility, and after easily spending half a work-day doing all of this to save a few dollars, you'll still have to pay to dump your load.
So, what's the better alternative?
For home renovation projects that produce 7 or more cubic yards worth of debris, renting a dumpster is likely the most cost-effective disposal solution. Having a dumpster on-site throughout the duration of your project allows you to throw your debris into it as you work, creating the safest work environment and most efficient cleanup process. But even if you've waited until your project is complete to discover that you need to rent a dumpster to dispose of your C&D debris, having a container placed in your driveway makes it simple and easy to haul all your debris to your bin.
After you've removed all debris from your home and place it into the temporary dumpster rental, all you have to do is contact the dumpster rental company to come pick it back up. It's that easy!
If your home renovation project produces less than 7 cubic yards of debris, OR if you don't have the time or desire to do all the heavy lifting and loading yourself, hiring junk removal services is likely the better option.
Junk removal companies are known for being one of the fastest, most convenient ways of getting rid of unwanted items, including C&D debris. After you've gotten a handful of quotes from different companies and have picked the best option and scheduled your debris removal appointment, your job is virtually done.
The junk removal company will typically send a crew of 2 (or more for larger projects) to your worksite where they arrive on time and begin loading your debris into their truck or trailer. If you have especially heavy debris or other items, they'll come equipped with the proper tools and manpower to be able to remove it from your home much faster than if you attempted to do it alone.
Once all your debris is loaded into their hauling vehicle, you'll be given an invoice that you will either pay on the spot, online, or you may be able to call into their office and pay over the phone.
From there, the junk removal crew will haul your debris to the appropriate facility where it will be sorted through and recycled when possible for the most environmentally friendly disposal option.
Whether you decide that junk removal or dumpster rental is better for your post-renovation debris removal, Hometown can help you get in touch with locally-owned and operated services in your area for completely free quotes.
We provide a simple, fast way to get multiple quotes from different junk removal and dumpster rental providers in order to compare pricing, customer service, and find the availability your project requires.
Simply enter your zip code and answer a few short questions about your debris disposal needs and we'll connect you with the right local experts. We never sell or share your data; it's only given to the appropriate service providers you request quotes from!
Our sister site, Hometown Demolition, can help connect you with professional, reliable, and local remodeling and demolition contractors if you're still searching for help with your project.
Keep reading:
- The Easiest Ways to Manage Debris from DIY Projects
- Get the Best Price for Renovation Debris Removal
- Get Rid of Construction or Demolition Debris with Junk Removal Services
Wipe Down Hard Surfaces
It's important to properly wipe down all hard surfaces not only in the part of your home that underwent renovations, but in the surrounding areas where dust could have settled or in areas of the home that were part of a walking path for those who worked on the renovations.
Dust is lightweight, allowing it spread and settle across every square inch of a renovation work site and even beyond it. That's why it's best to take the proper precautions before you ever even begin any renovation work by laying down protective boards, tarps, and films. But even if you did take these precautions, there is bound to be some dust that still manages to stick around even after you've removed all debris and the protective barriers you had in place throughout the course of the project.
Using a damp microfiber cloth, start by wiping down hard surfaces at the top of a room and work your way down. Start with light fixtures, fans, and the tops of cabinets or window frames. Starting at the top allows any dust you knock down to fall onto the floor where it can be vacuumed and removed as the final step of the dusting and wiping process.
Don't shy away from wiping down all walls, windowsills, vents, and any other shelves, furniture, or decorative features that were left in the room throughout the renovation.
Keep in mind that damp cloths are much more effective than dry ones. Moisture weighs down the dust, allowing it to be trapped and wiped up completely by the cloth rather than further spread around because of its lightweight nature. It's also very important to wear a mask while you're dusting, wiping, and sweeping up construction and demolition dust so that you aren't breathing in harmful toxins.
Use a wiping motion to clean up dust and avoiding scrubbing. Scrubbing hard surfaces too harshly with gritty dust can scratch the surfaces of whatever material you're scrubbing, causing unsightly scratches or permanent damage.
After you've wiped down all the hard surfaces of your renovation room and surrounding areas, the next step is to completely clean up your floors.
Learn more:
- How to Manage Remodel Debris and Dust
- Can't Move? Improve Your Home Instead
- What Insurance Should My Contractor Have?
Vacuum
The next step is to vacuum all cloth material and your flooring. Vacuuming is a better solution compared to sweeping because sweeping will further kick up construction dust and cause it to spread and settle on surfaces you've already spent time cleaning.
It's important to make sure that your vacuum machine has a HEPA (high-efficiency particulate air) filter to ensure that you're sucking up as much dust as possible from the air and surfaces of your home. Using the wrong equipment can falsely give you the impression that you've done everything necessary for a thorough cleanup, meanwhile dust can continue to spread and settle throughout the room and surrounding areas, putting your pets, children, and even adults in danger of suffering from respiratory illness.
If there are parts of your light fixtures or fans that are hard to reach, use a handheld vacuum or vacuum hose to suck up any dust you might have missed the first go around.
Then vacuum any curtains or other cloth material on or against your walls. After you've covered all other surfaces of the room, vacuum up your floors slowly and thoroughly. Keep an eye on your dust bag (or similar alternative) and vacuum filter and replace or empty as necessary for the most effective cleanup. If you have furniture or rugs sitting on floor surfaces, be sure to move them in order to get all dust.
If this makes you nervous and you're unsure whether or not you're equipped to do the most thorough cleanup after finishing a renovation project, consider hiring professionals. There are many junk removal companies that will not only come in to remove your C&D debris, but will clean up the entire area afterwards, making sure it's ready and safe to be lived in again. Another option is to hire a licensed and insured renovation and demolition contractor that also provides pre-renovation cleanup and prevention, as well as post-renovation cleanup.
Mop
If you have hard floors, like hardwood or tiling, mop your floors after you've finished vacuuming.
We suggest using a new mop head, or making sure that it's been washed in hot water first. Then, fill a bucket full of the appropriate cleaning solution and hot water to mop with.
When necessary, move around any furniture in order to mop up all floor surfaces for a more thorough cleaning.
Start mopping in the farthest corner of the room and work your way back so that you can easily exit the room once all surfaces of the floor have been mopped. Allow the floor to dry completely before walking back into the room and moving any furniture back that is no longer in place.
Put Everything Back in Place
After you've thoroughly cleaned up all C&D debris and dust from your renovation, you can now move any furniture, decorations, or other belongings back into the room that were removed for your project.
If you've dramatically changed the setup of your room, take the time to thoughtfully plan out where your old items should be stored or displayed in your new space. When going through your belongings to put them back in place, it's possible that you'll realize that some of the belongings you've been hanging onto for years are no longer being used or serving you. If that is the case, consider donating, selling, or throwing away these items.
In addition to getting rid of C&D debris, junk removal companies are a great option when you have a pile of old belongings you no longer want or need. Old furniture, decor, clothing, toys, tools, dinnerware, etc. are all examples of common household items that people regularly get rid of and replace—especially after they've spent time and money renovating their home!
Maybe you're ready to switch up your room theme or finally splurge on a new set of furnishings. Whatever your reason, contact a junk removal company to haul away your unwanted items to make room for the new items that compliment your thoughtfully planned out and newly renovated living space.
Find local junk removal and dumpster rental services near you
Read on: